
Most Korky fill valve issues are fixable with cleaning, simple adjustment, or replacing worn parts.

Today's Exclusive Deals
Limited-time Exclusive Deals. Check current discount on Amazon.
Check Price on Amazon As an Amazon Associate I earn from qualifying purchases.I have repaired many toilets and taught dozens of neighbors basic Korky Fill Valve Troubleshooting. I know the common faults, the quick fixes, and when to call a pro. This guide explains how the Korky fill valve works, why problems happen, and step-by-step Korky Fill Valve Troubleshooting you can do today. Read on to save time, avoid leaks, and keep your toilet running quietly.
How the Korky Fill Valve Works and Why It Matters
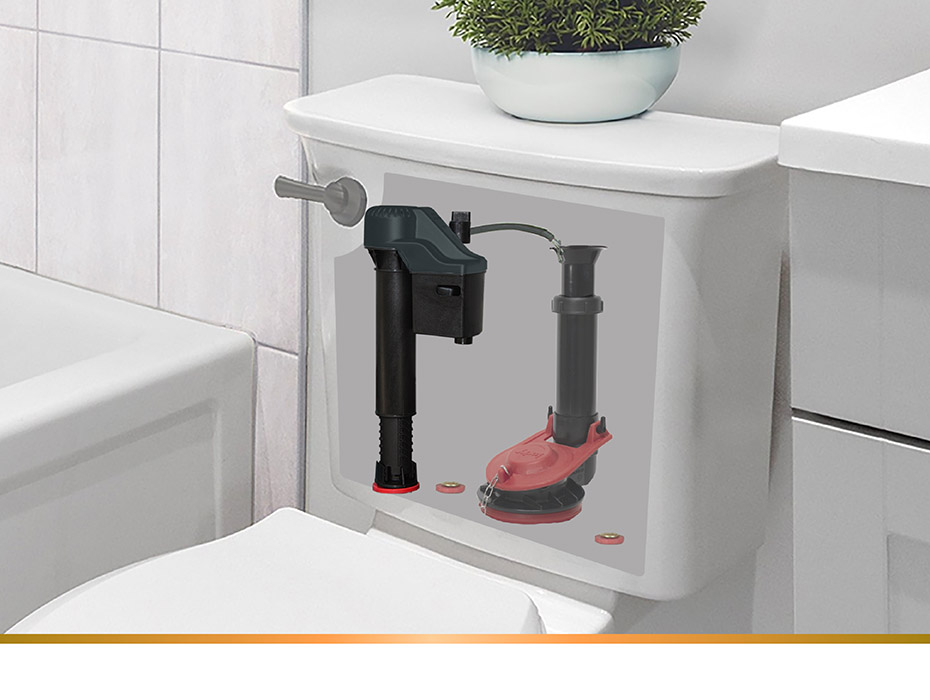
The Korky fill valve controls water flow into the toilet tank. It senses water level and shuts off when the tank fills. Good operation keeps the tank quiet and prevents running toilets. Faults can cause constant running, weak refill, noise, or leaks.
Today's Exclusive Deals
Limited-time Exclusive Deals. Check current discount on Amazon.
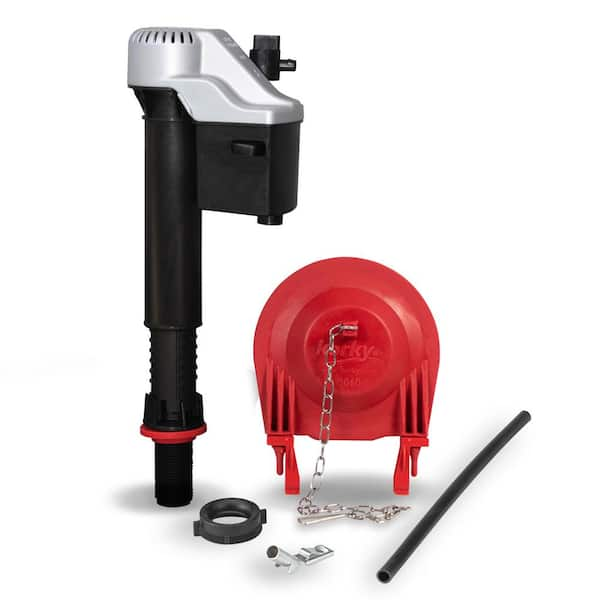
Check Price on Amazon As an Amazon Associate I earn from qualifying purchases.Knowing the parts helps with Korky Fill Valve Troubleshooting. Key parts include: the valve body, float cup or piston, refill tube, and seal. Dirt, mineral build-up, or a worn seal often causes trouble. Korky valves are popular because they are easy to adjust and replace.

Common Problems with Korky Fill Valve and Their Causes
Most problems have clear causes. Spotting the cause makes Korky Fill Valve Troubleshooting faster.
Today's Exclusive Deals
Limited-time Exclusive Deals. Check current discount on Amazon.
Check Price on Amazon As an Amazon Associate I earn from qualifying purchases.- Constant running after flush
Common cause: worn seal or wrong float height. - Low or slow refill
Common cause: clogged inlet screen or low water pressure. - Loud or vibrating fill
Common cause: loose valve, worn diaphragm, or debris in the seat. - Intermittent trickle into bowl
Common cause: refill tube misaligned or clogged overflow tube. - Valve will not shut off
Common cause: float stuck, internal parts worn, or supply shut-off not fully open.
Tools and Parts You Need Before Troubleshooting
Being prepared speeds repair and reduces mistakes. Gather these items for Korky Fill Valve Troubleshooting.
- Adjustable wrench for the supply nut
- Small bucket or towel to catch water
- Needle-nose pliers for clip removal
- White vinegar and a soft brush for mineral build-up
- Replacement Korky fill valve or seals if needed
I keep a spare Korky fill valve in my utility closet. That saved me a midnight call to a plumber once. Having the right parts makes troubleshooting less stressful.

Step-by-Step Korky Fill Valve Troubleshooting
Follow these steps in order. Each step is short and safe. Turn off water at the supply before major work.
- Check the water supply
Turn the shut-off clockwise to ensure full flow. If flow is low, check the house supply. Low supply causes weak refill. - Inspect the float and adjustment
Observe the float as the tank fills. If it is set too low, raise it. If it sticks, free it and ensure it moves smoothly. - Clean the inlet screen
Shut off water. Unscrew the supply nut and pull the valve slightly. Clean the screen with vinegar and a brush. Reassemble and test. - Check the refill tube position
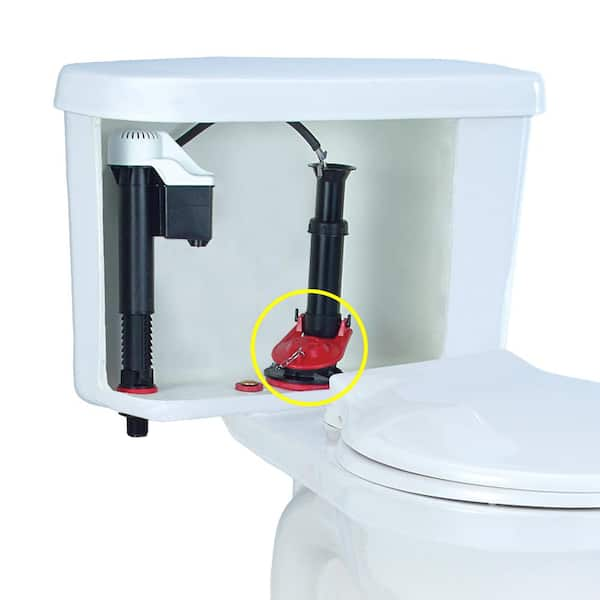
Ensure the refill tube clips to the overflow tube. If it is submerged, reposition it. A misaligned refill tube causes bowl siphoning. - Test the valve seal
Press the valve seal gently. If it does not stop flow or shows wear, replace the seal or the entire fill valve. - Replace the fill valve if needed
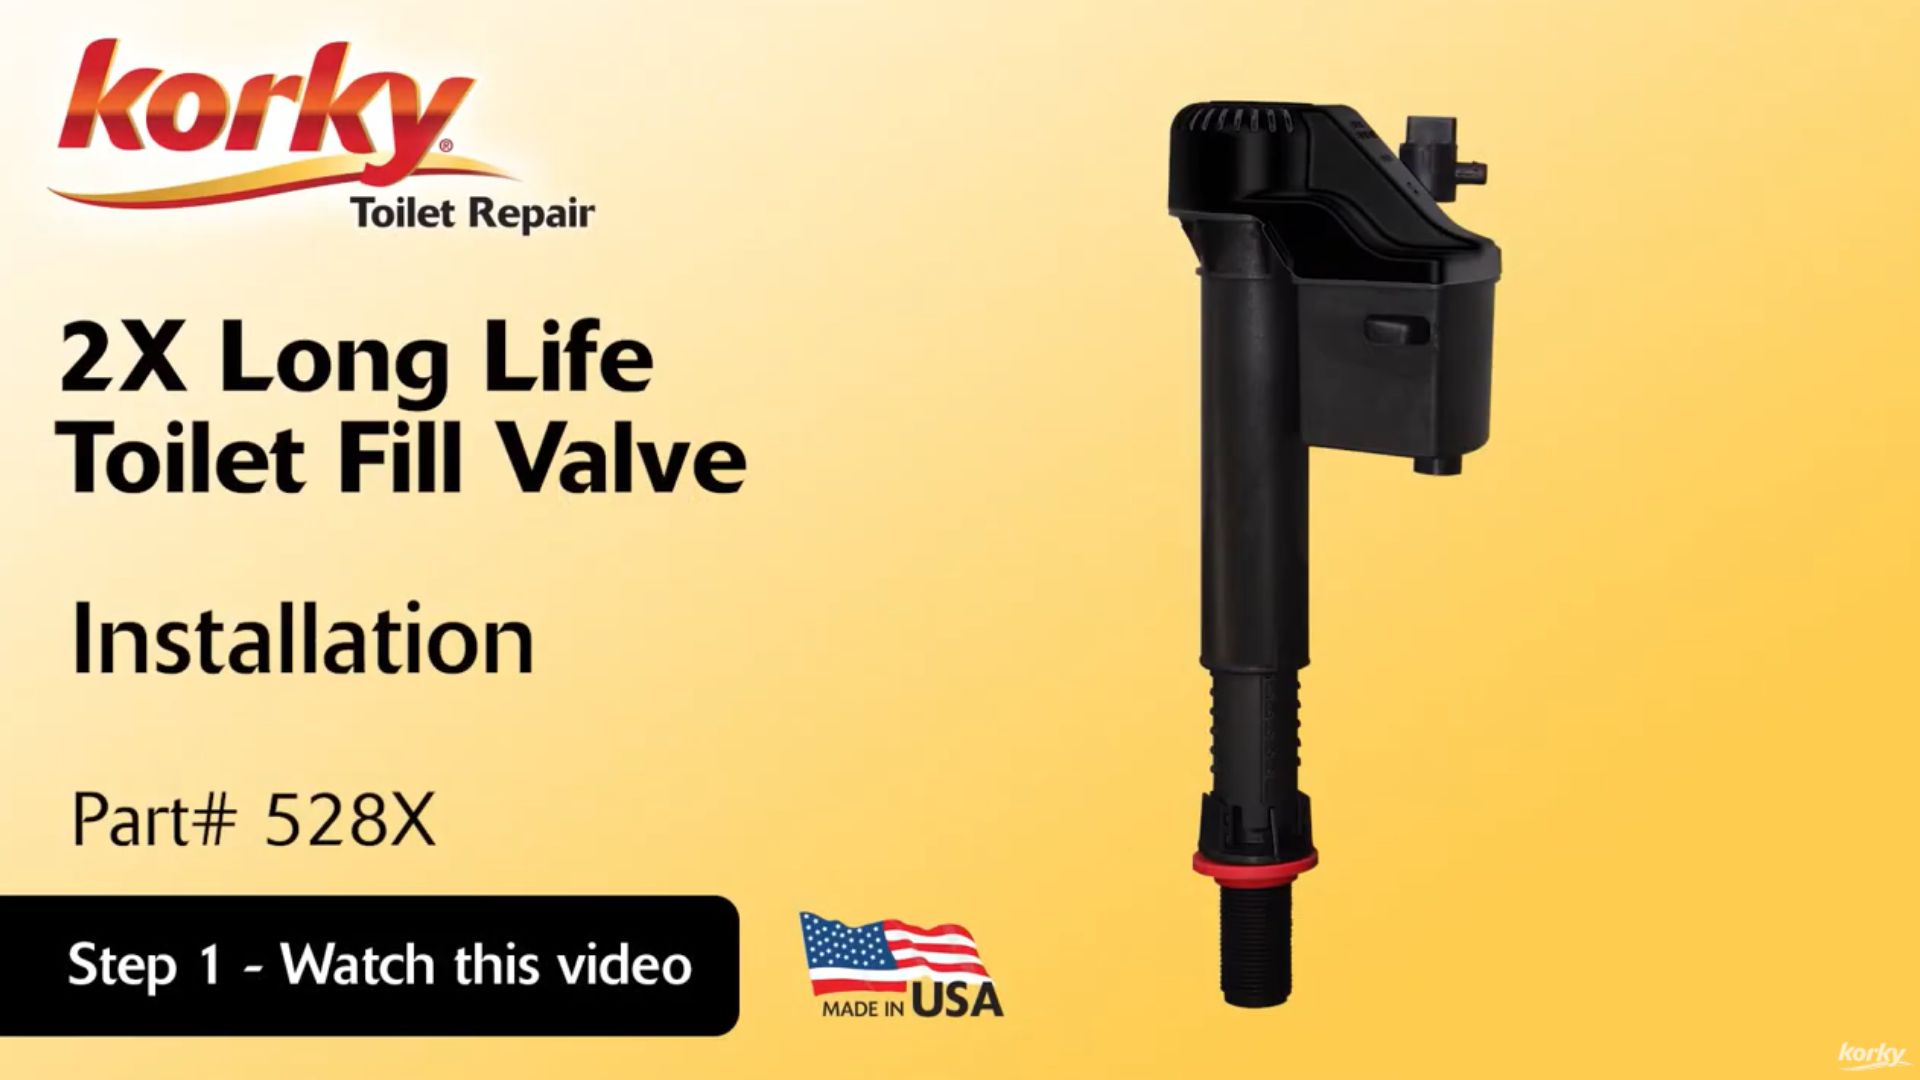
Drain the tank. Remove the old valve nut. Fit the new Korky fill valve per instructions. Reconnect and test for leaks.
Keep steps short and test after each change. This isolates the true cause and saves effort.
Quick Fixes You Can Do in Under 20 Minutes
If you want fast Korky Fill Valve Troubleshooting, try these quick fixes.
- Raise or lower the float to set the correct water level.
- Clean the small inlet screen to restore flow.
- Reattach or reposition the refill tube to the overflow pipe.
- Tighten the valve nut if you hear vibration or see dripping.
These fixes work in many cases. I used the float tweak on three toilets in one afternoon with zero replacement parts.

When to Replace the Korky Fill Valve
Sometimes replacement is the best option. Replace when:
- The valve leaks despite cleaning.
- Internal parts are cracked or brittle.
- The valve is older than 8–10 years and shows wear.
- Repairs stop being reliable.
Replacing a Korky fill valve is inexpensive and quick. A new valve can stop noise, leaks, and running for years.
Maintenance Tips to Prevent Future Problems
Simple care extends life and cuts calls to a plumber.
- Inspect the tank every 6 months for mineral build-up.
- Clean the inlet screen during any slow refill issue.
- Check float movement and refill tube alignment.
- Replace seals yearly if you have hard water.
A short check twice a year saves on repairs. I mark my calendar to inspect tanks in spring and fall.

A Few Common Mistakes to Avoid
I have made these mistakes. Learn from them.
- Forgetting to shut off the water fully before work.
- Replacing parts without testing simpler fixes first.
- Over-tightening the supply nut and cracking the valve.
- Using harsh tools that damage plastic parts.
Keep calm and follow steps. Small care prevents big problems.
People Also Ask — Quick PAA Answers
Why is my Korky fill valve noisy?
A noisy Korky fill valve often means debris or a worn diaphragm. Cleaning or replacing the valve usually stops the noise.
Can I replace a Korky fill valve myself?
Yes. Most homeowners can replace a Korky fill valve in 20–30 minutes with basic tools. Follow the manufacturer instructions and shut off water first.
How do I adjust the water level on a Korky fill valve?
Lift or slide the float adjustment clip to set water level. Test by flushing and checking the tank fill line.
What if my toilet still runs after replacing the Korky fill valve?
Check the flapper and chain next. A running toilet can have multiple causes, and the flapper is a common culprit.
Is a Korky fill valve compatible with most toilets?
Yes. Korky makes universal valves that fit many tanks. Measure height and inlet type to be sure.
Frequently Asked Questions of Korky Fill Valve Troubleshooting
What are the first steps in Korky Fill Valve Troubleshooting?
Start by turning off the water supply, flushing to empty the tank, and observing how the valve behaves when the tank refills.
How do I stop a Korky fill valve from running continuously?
Check float height, clean the inlet screen, and inspect the valve seal. Replace the seal or valve if the leak persists.
Can mineral deposits ruin a Korky fill valve?
Yes. Hard water can clog the inlet screen and damage seals. Cleaning with vinegar often restores function, but repeated build-up may need valve replacement.
How long does a Korky fill valve last?
With normal use, a Korky fill valve can last 5–10 years. Hard water and heavy use shorten its life.
Will adjusting the float fix slow refill issues?
Adjusting the float helps when the level is set too low. If refill is slow due to a clogged inlet or low pressure, adjustment alone won't fix it.
Is it safe to use a universal Korky fill valve in older toilets?
Mostly yes. Universal Korky fill valves are designed to fit most tanks. Measure and check clearance before buying.
Conclusion
Korky Fill Valve Troubleshooting often saves time and money. Start with simple checks like float adjustment, cleaning the inlet screen, and checking the refill tube. Replace the valve when seals fail or parts show wear. My hands-on repairs taught me that patience and the right tools make this task easy.
Take action today: inspect your tank, try one quick fix, and keep a spare Korky fill valve on hand. If you found this guide helpful, leave a comment, subscribe for more DIY plumbing tips, or share a troubleshooting story.


