
Most issues are simple: check parts, seals, tubing, and motor settings first.
I’ve worked with breast pumps and supported many parents troubleshooting the Medela Pump In Style Troubleshooting. This article gives a clear, step-by-step guide to diagnose and fix common problems with the Medela Pump In Style. I combine hands-on tips, simple science, and practical checks so you can get reliable suction, quiet operation, and clean parts fast.
How the Medela Pump In Style Works and why troubleshooting helps
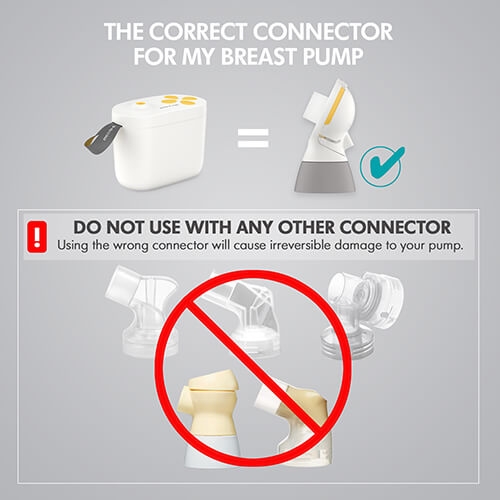
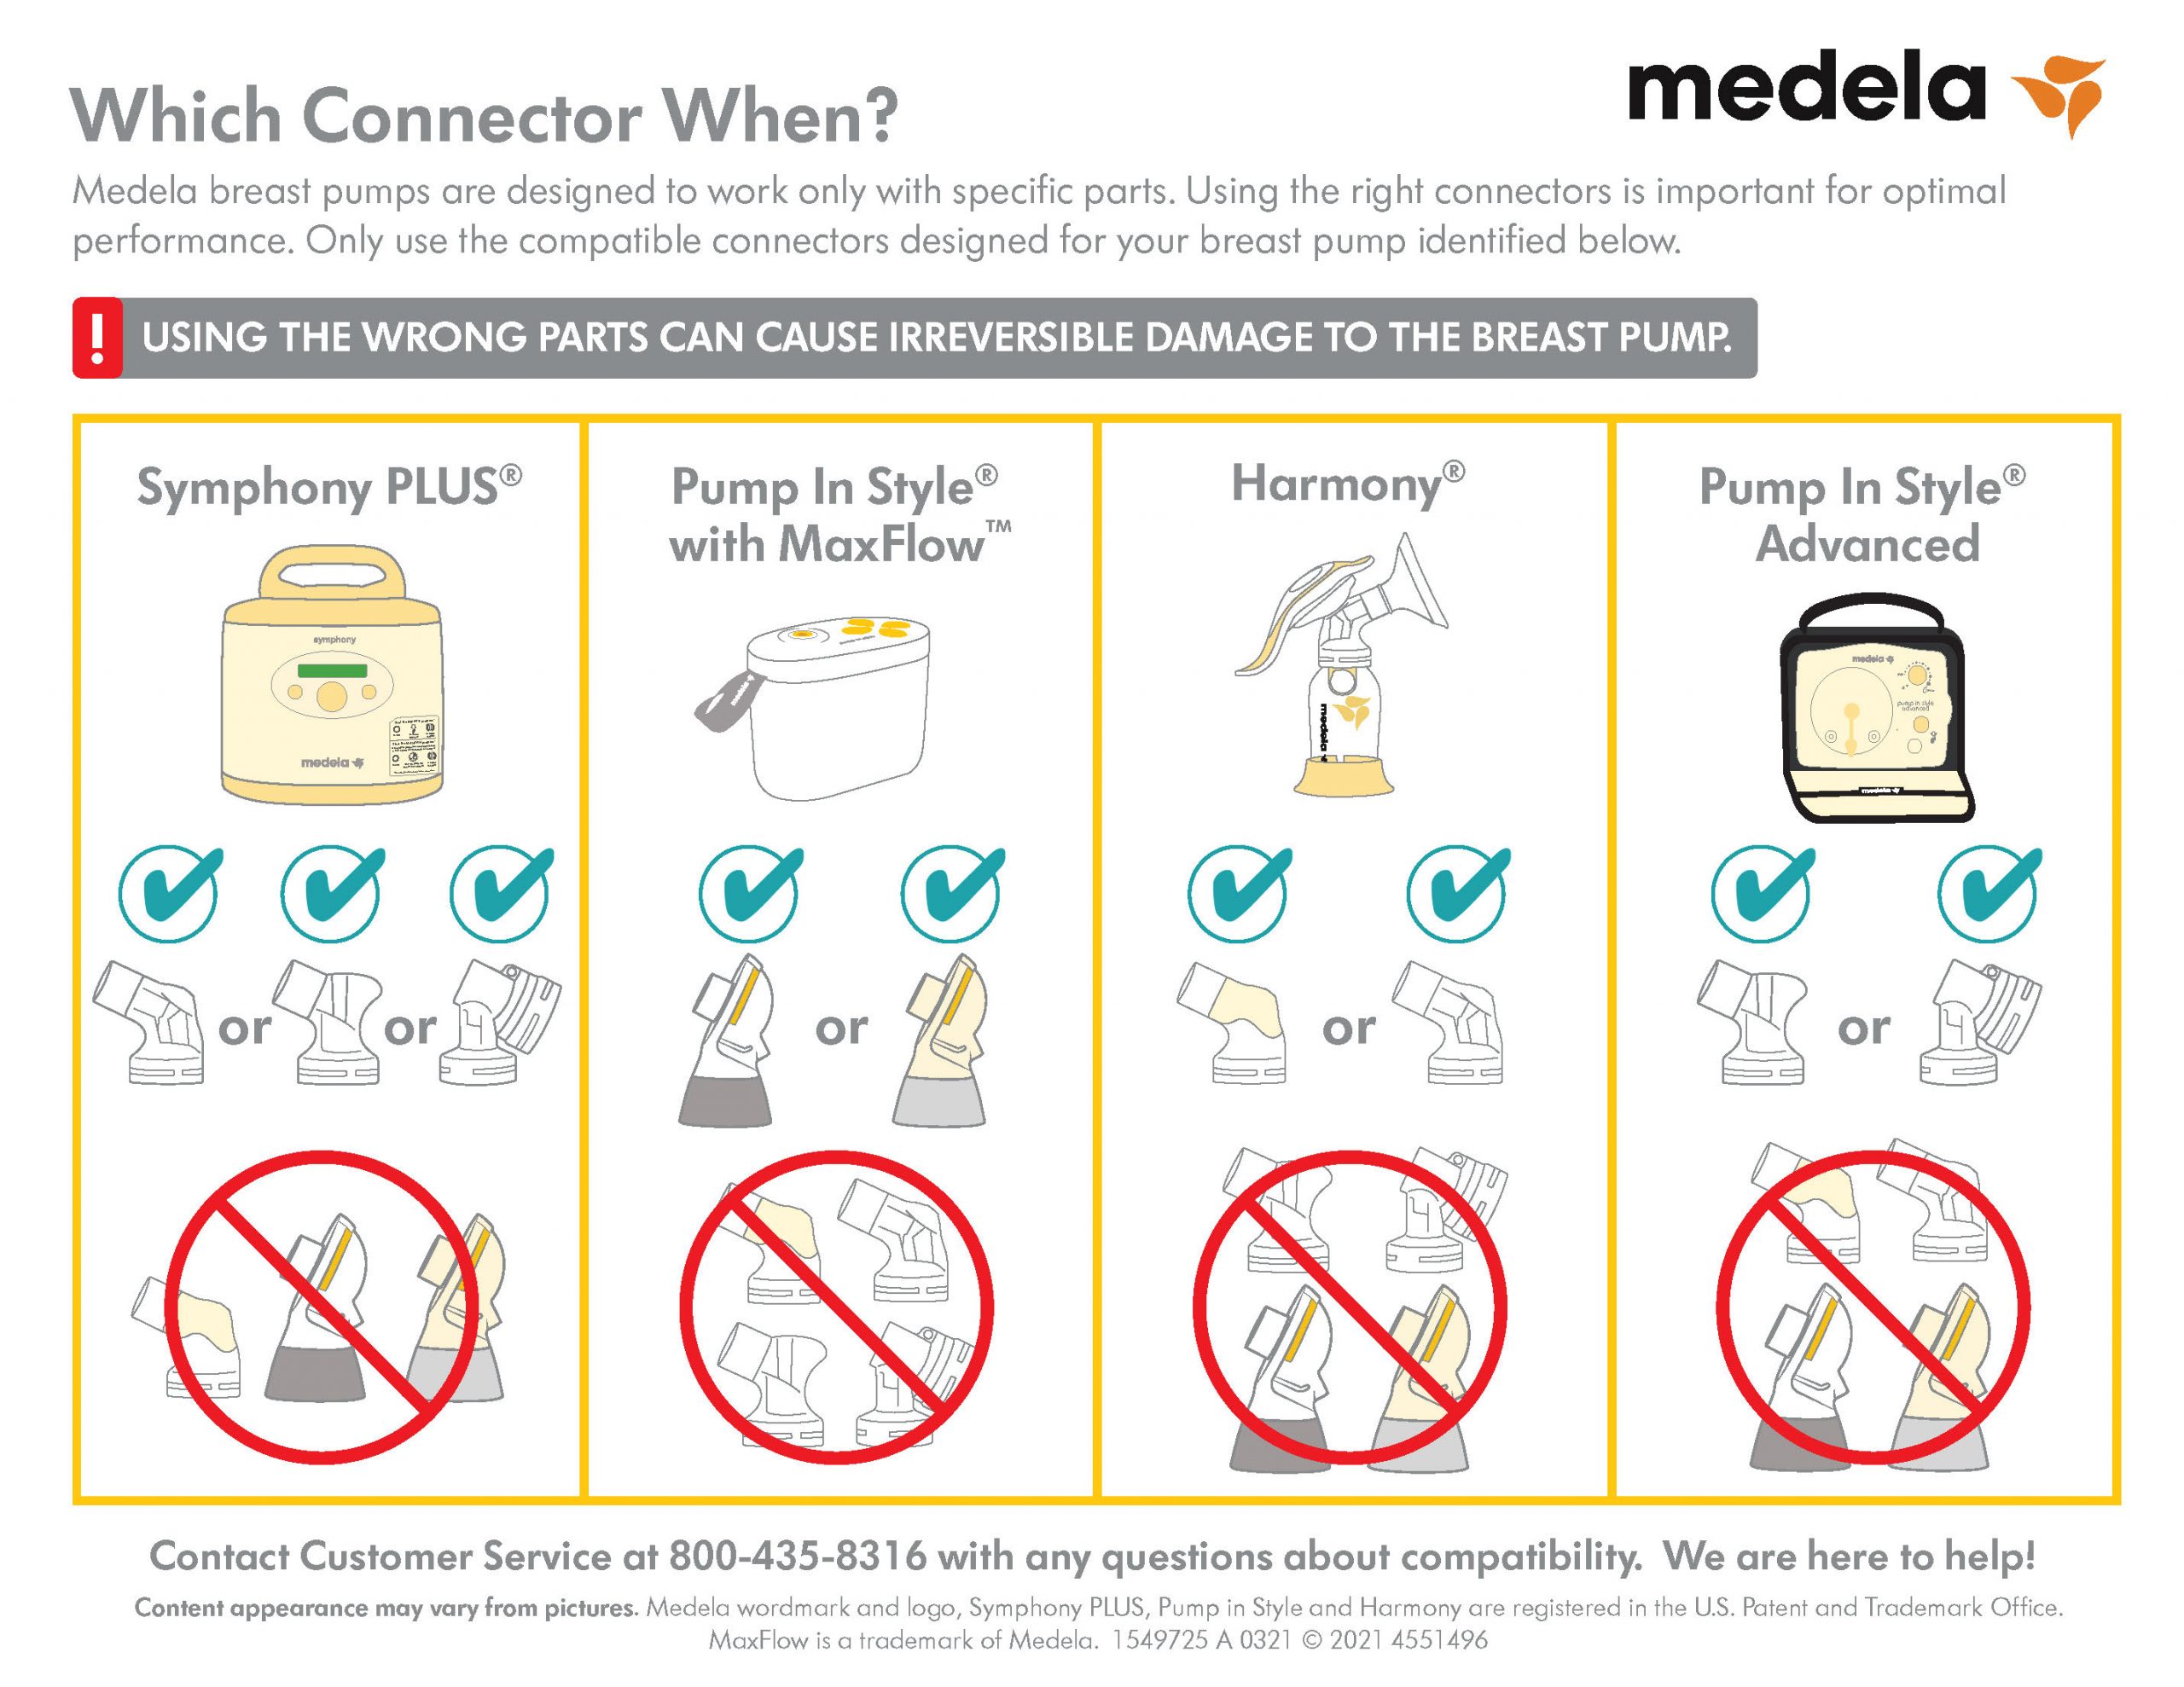
The Medela Pump In Style is a closed system, single- or double-electric breast pump. It uses a motor-driven vacuum to mimic a baby’s suck pattern. Key parts are the motor, tubing, breast shields (flanges), valves, membranes, and bottles. Knowing how these parts work makes troubleshooting faster and more accurate.
Common failure points are seals, valves, membranes, and tubing. Air leaks or worn valves reduce suction. Clogged parts can cause slow flow. Motor or power issues stop the pump entirely. This guide focuses on practical fixes and safe maintenance for the Medela Pump In Style Troubleshooting.

Common problems and step-by-step fixes
Below are frequently seen problems with the Medela Pump In Style Troubleshooting and clear fixes. Try the simplest fixes first. Test after each step.
Low or no suction
Symptoms: weak vacuum, milk flow low.
Fixes:
- Check tubing for kinks or holes. Replace if cracked.
- Inspect valves and membranes. If floppy or torn, replace immediately.
- Ensure backflow protector is clean and dry. Moisture can block air flow.
- Re-seat the breast shield. A poor seal around the breast breaks suction.
- Try a different flange size for a better fit.
Pump runs but motor is noisy or weak
Symptoms: grinding, slow motor.
Fixes:
- Unplug and let motor cool. Overheat can reduce power.
- Check battery contacts and power adapter. Corrosion or loose plug reduces current.
- If noise persists, motor brushes or bearings may be worn. Consider professional service or replacement.
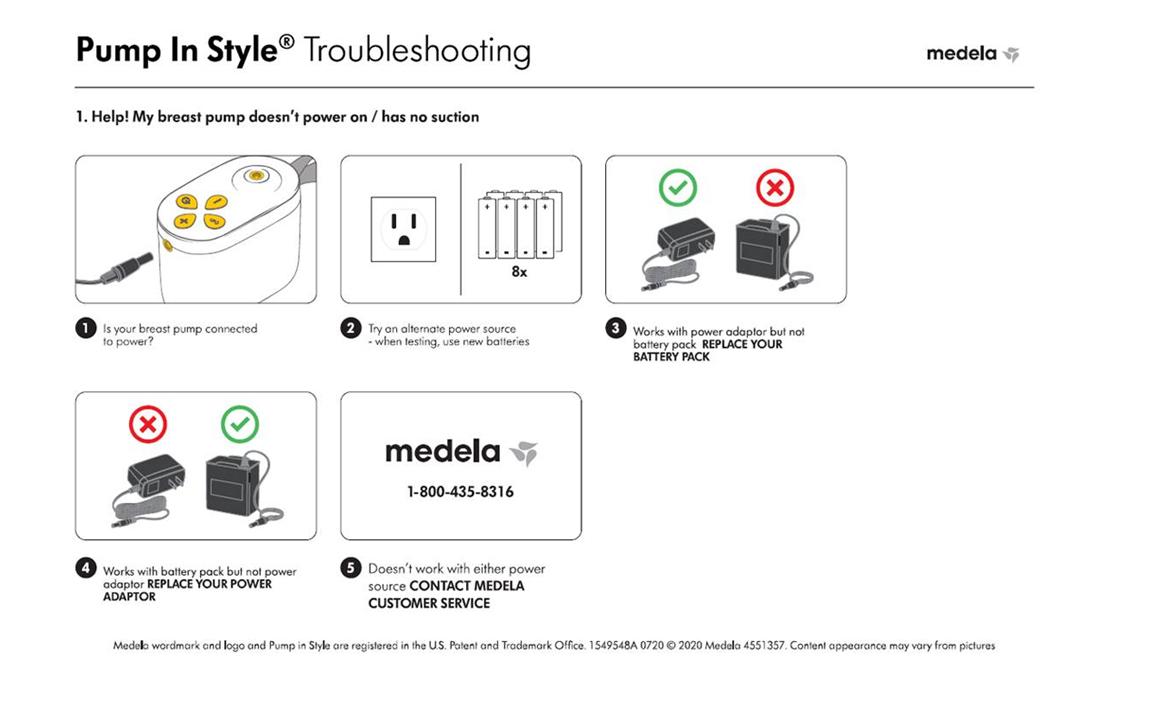
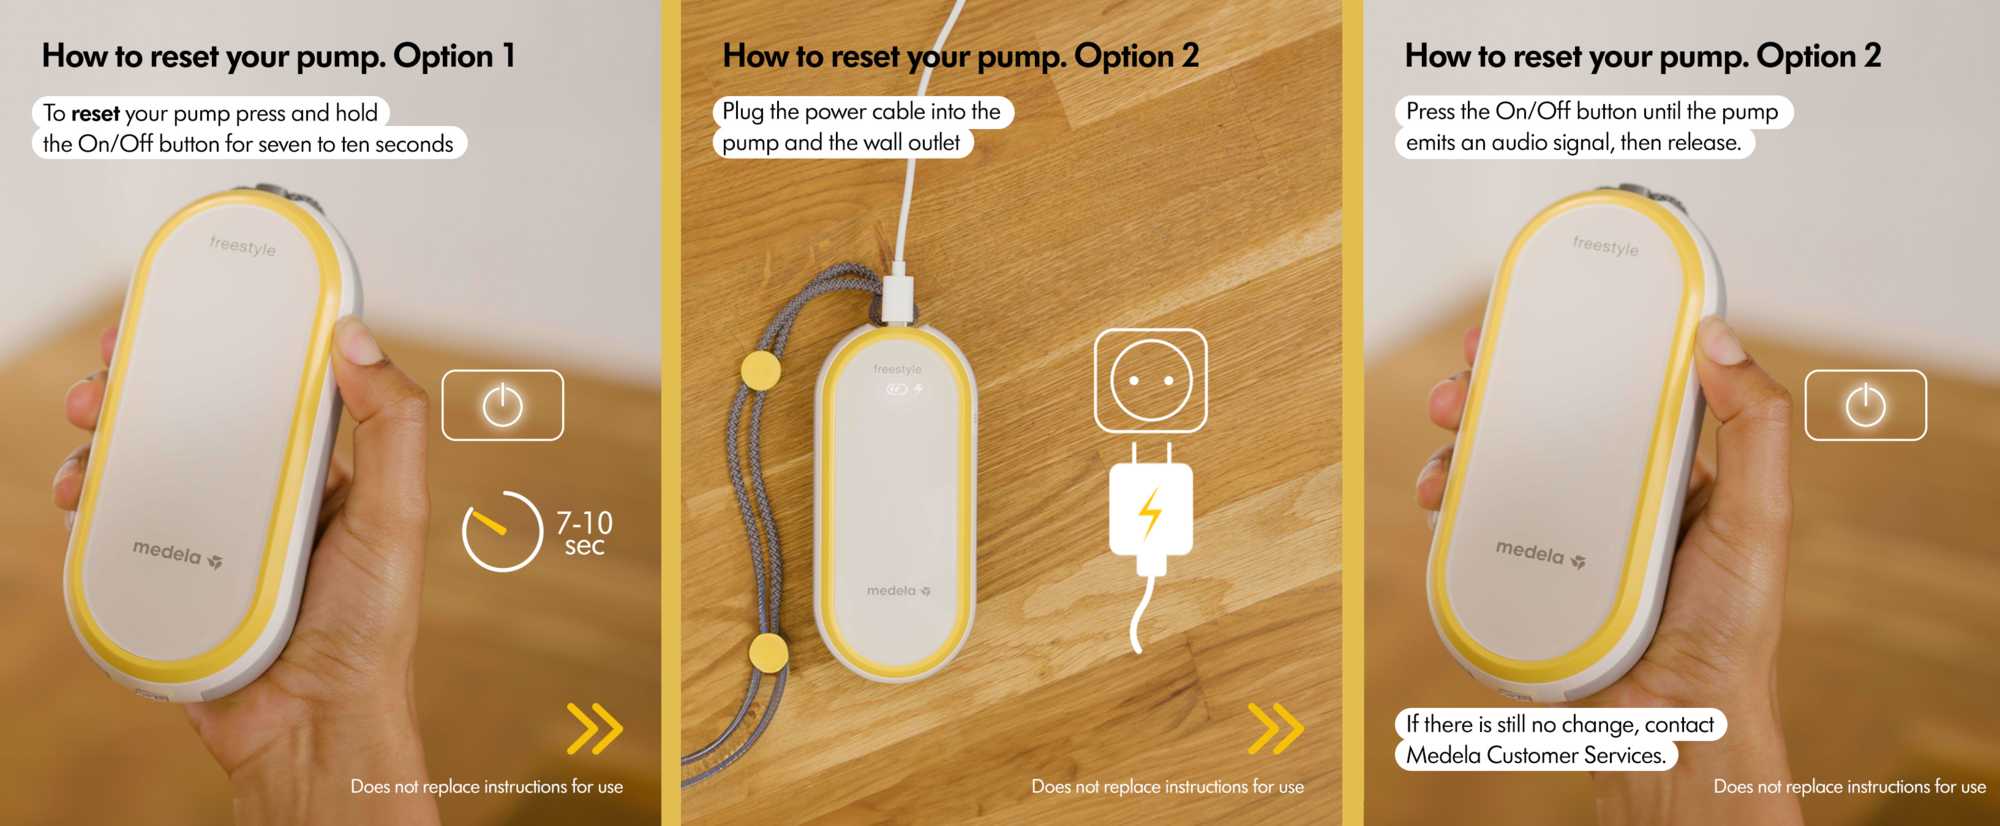
Pump won’t turn on
Symptoms: no power, blank display.
Fixes:
- Confirm power source and adapter. Use a known-good outlet.
- Replace batteries if in battery mode.
- Inspect the adapter cord for damage.
- If still dead, the internal fuse or circuitry may have failed. Service or replace unit.
Milk backflow or contamination concerns
Symptoms: milk in tubing or motor.
Fixes:
- Always use the backflow protector correctly and keep it clean.
- If milk reaches tubing or motor, stop using the pump and clean immediately. Do not run the pump until fully dry.
- Replace any parts that show milk residue or damage. For safety, consider replacing tubing and valves.
Leaking connectors or bottles
Symptoms: milk around bottle threads or connector.
Fixes:
- Ensure bottles are screwed on snugly but not cross-threaded.
- Inspect bottle seals and replace if warped.
- Clean threads on the connector and bottle to avoid gaps.
Step-by-step troubleshooting checklist you can follow
Use this ordered checklist for Medela Pump In Style Troubleshooting. Work top to bottom. Test after each completed step.
- Power and adapter
- Verify outlet and adapter are working.
- Replace batteries or test a different adapter.
- Visual inspection
- Look for cracks, wear, and buildup on tubing, valves, membranes, and shields.
- Replace small parts
- Swap valves and membranes first. They are cheap and often fix low suction.
- Check seals and flange fit
- Try a different flange size. Ensure skin forms a tight seal.
- Clean and dry everything
- Wash parts per manufacturer instructions and fully air-dry before reassembly.
- Test tubing for leaks
- Attach tubing and cover the breast shield end; the pump should build vacuum.
- Call support or replace motor
- If the pump still underperforms, contact support or consider a replacement unit.

Cleaning, maintenance, and storage tips
Regular care prevents many Medela Pump In Style Troubleshooting issues. Follow these simple routines.
- Clean parts after each use using warm, soapy water. Rinse well.
- Sterilize or boil parts per manufacturer guidance when needed.
- Air-dry parts on a clean towel; avoid cloths that leave fibers.
- Inspect valves and membranes weekly for wear.
- Store tubing loosely coiled in a dry place. Never store wet.
- Replace disposable parts on schedule—valves and membranes every few months with regular use.
These habits extend pump life and reduce the need for troubleshooting.
Replacement parts, compatibility, and where to prioritize spending
When fixing the Medela Pump In Style Troubleshooting, prioritize these parts in this order for replacement:
- Valves and membranes
- Backflow protectors
- Tubing
- Flanges and connectors
- Motor or main unit
Valves and membranes are low-cost and often solve low-suction problems. Tubing is also inexpensive and easy to swap. Motors and full units are more costly; replace only after confirming parts and power are not the issue.

When to seek professional help or replace the unit
You should contact support or replace the pump if:
- The motor fails despite correct power and parts checks.
- Milk contamination reached the motor.
- Parts are discontinued or hard to find for older models.
- Warranty or safety recall covers your unit.
If the pump is old and problems recur, replacement is often the safest and most reliable option.
Practical tips, common mistakes, and personal experiences
From hands-on testing and helping other parents, here are tips that actually work.
- Always keep spare valves and membranes. I fixed many pumps on the spot this way.
- Avoid over-tightening bottles. Cross-threading causes leaks.
- Use correct flange sizes. A poor fit causes poor suction and sore nipples.
- Don’t ignore small leaks. A slow air leak gets worse quickly.
- When I first used the pump, I failed to dry the backflow protector thoroughly. Moisture led to reduced suction. Lesson learned: dry completely.
These small fixes save time and stress.

PAA-style quick questions
Why is my Medela Pump In Style losing suction?
Low suction is usually worn valves, torn membranes, or a loose flange seal. Replace valves and membranes first.
Can milk get into the motor of a Pump In Style?
Yes, if backflow protectors fail or parts are misassembled. Stop use and clean; replace contaminated parts.
Frequently Asked Questions of Medela Pump In Style Troubleshooting
How often should I replace valves and membranes?
Replace valves and membranes every 2–3 months with regular use, or sooner if torn. This keeps suction strong.
Why does my pump make a louder noise than before?
Louder noise can come from worn motor parts, loose screws, or hardened tubing. Check parts and power source first.
Is it safe to use the pump if tubing looks cloudy?
Cloudy tubing may indicate wear or residue. Replace tubing to avoid hygiene and suction issues.
Will using different flange sizes improve pumping?
Yes. A correct flange size improves seal and comfort. Try different sizes if you see low output or nipple pain.
What if milk gets into the tubing?
Stop using the pump. Clean and fully dry parts. Replace tubing if milk reached it or if contamination is uncertain.
Conclusion
This guide covers the main steps for Medela Pump In Style Troubleshooting, from simple checks to parts replacement and prevention. Start with valves, membranes, and seals, and work through the checklist before replacing the motor. Small habits—cleaning, drying, and having spare parts—prevent most problems. Try the steps now, keep a spare parts kit, and comment with your specific issue to get tailored help.

