
A faulty pressure switch usually causes no water, short cycling, or erratic tank pressure.
I’ve spent years diagnosing and fixing well systems, so this guide on Pressure Switch For Well Pump Troubleshooting will walk you step by step. You’ll learn how the switch works, common failures, safe tests to run, simple fixes, and when to call a pro. Read on to save time, avoid damage, and restore steady water pressure with confidence.
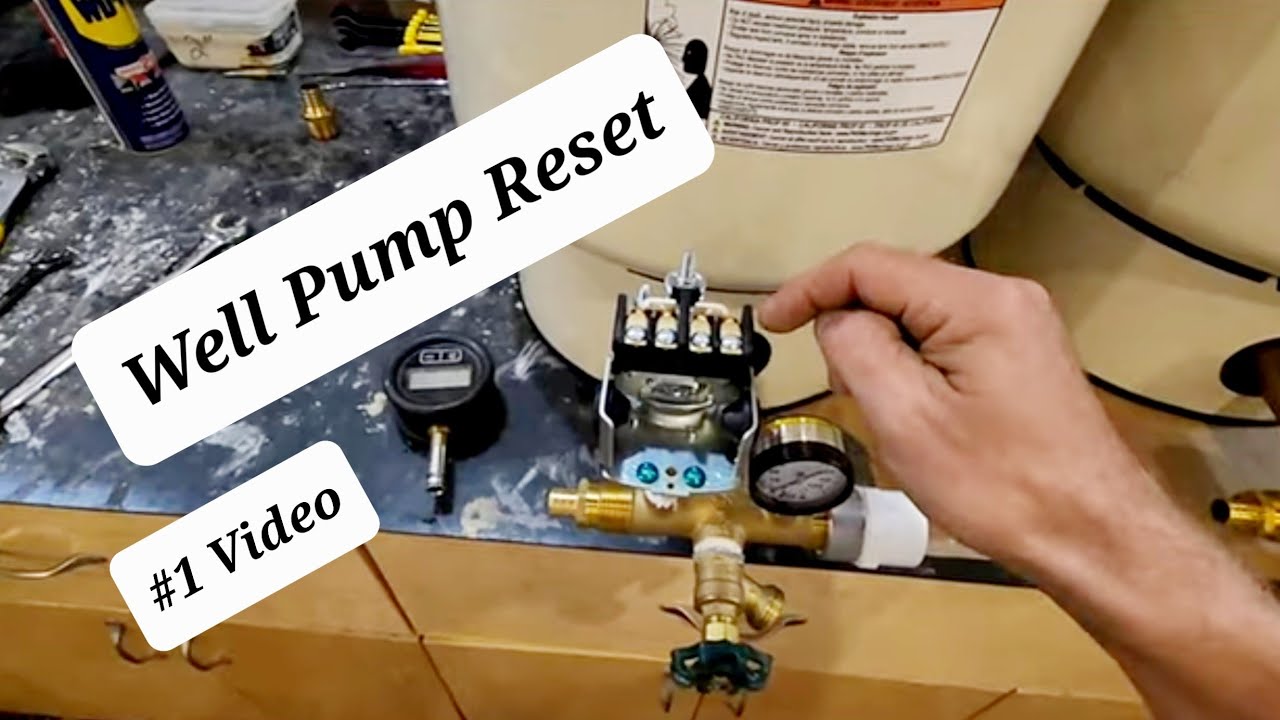
How a pressure switch works (simple explanation)
A pressure switch senses water pressure in the tank and tells the pump when to start and stop. It has set points called cut-in and cut-out. When pressure drops to the cut-in, the switch closes and the pump runs. When pressure reaches cut-out, the switch opens and the pump stops. Understanding this cycle is the first step in Pressure Switch For Well Pump Troubleshooting.
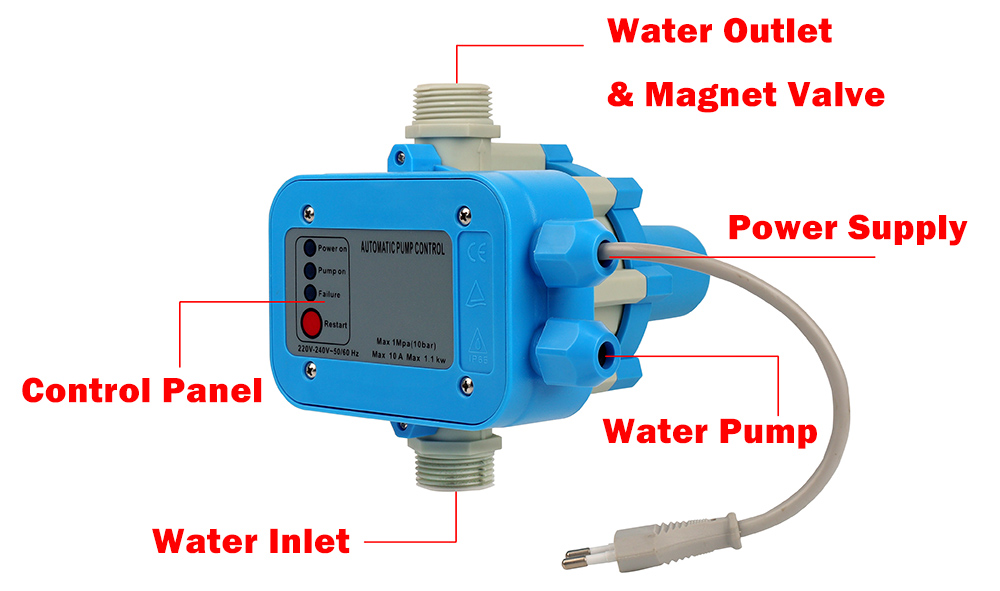
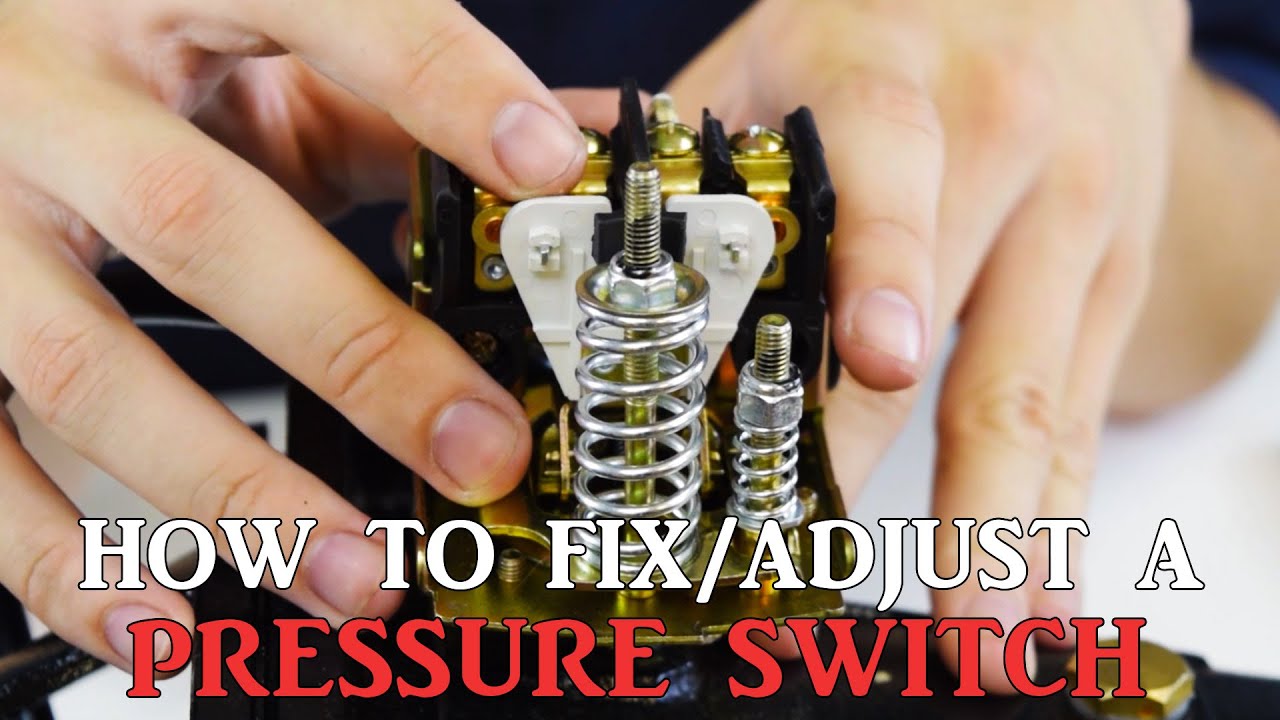
Common parts you’ll see:
- Pressure switch body with cover.
- Brass or plastic tailpiece that senses pressure.
- Two electrical terminals for pump power.
- Small spring and adjustment nuts inside.

Common symptoms and what they mean
Recognizing symptoms saves time during Pressure Switch For Well Pump Troubleshooting. Here are typical problems and likely causes.
No water at all
- Could be a dead pump, tripped breaker, blown fuse, or completely failed switch contacts.
Pump runs but never builds pressure
- Often a failed switch contact, stuck switch, or pump/motor problem.
Pump short-cycles (on/off quickly)
- Common cause is a waterlogged pressure tank or a bad pressure switch that fails to maintain contact.
Pump runs nonstop
- Could be the switch stuck closed, wiring short, or incorrect cut-out setting.
Erratic pressure or fluctuating cycles
- Loose connection, corroded contacts, or a failing switch spring are likely.
Tools and safety checklist before you start
Safety first. A few simple tools and checks keep troubleshooting safe and effective.
Essential tools
- Multimeter for voltage and continuity checking.
- Adjustable wrench and screwdriver.
- Hose bib or pressure gauge if the tank gauge is missing.
- Insulating gloves and safety glasses.
Safety checks
- Turn off power to the pump at the breaker before touching wiring.
- Verify power is off with a multimeter.
- Work in dry conditions and stand on dry ground.
- Label wires before disconnecting to avoid wiring mistakes.
Step-by-step Pressure Switch For Well Pump Troubleshooting
Follow these steps in order. Keep steps short and test after each action.
- Confirm the problem
- Check faucets and tank gauge. Note how the pump behaves.
- Check electrical supply
- Inspect the breaker and fuses. Use a multimeter at the switch terminals to confirm incoming voltage with the power on. If no power arrives, the issue is upstream.
- Inspect the switch visually
- Look for corrosion, cracks, or water intrusion. Tighten the cover screw and check for burned contacts when safe.
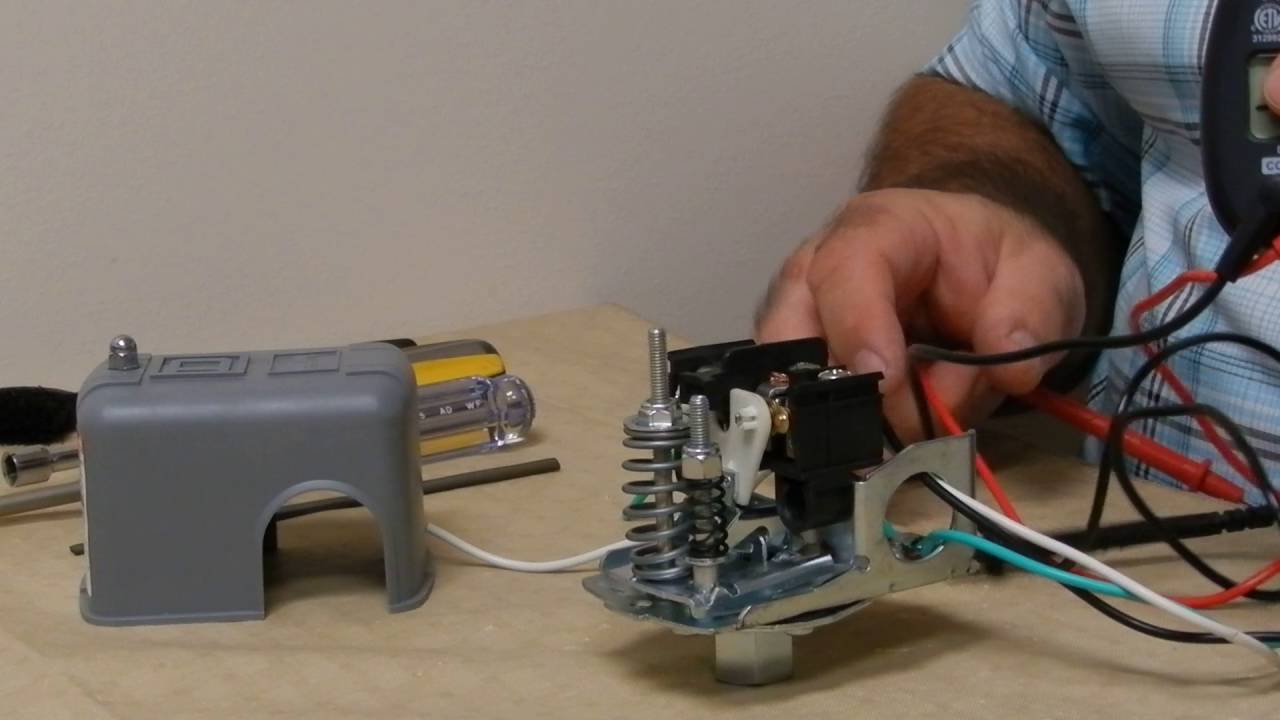
- Test for continuity and contact function
- With power off, remove switch cover, and test continuity across switch terminals while manually operating the pressure lever (if present). No continuity when closed indicates bad contacts.
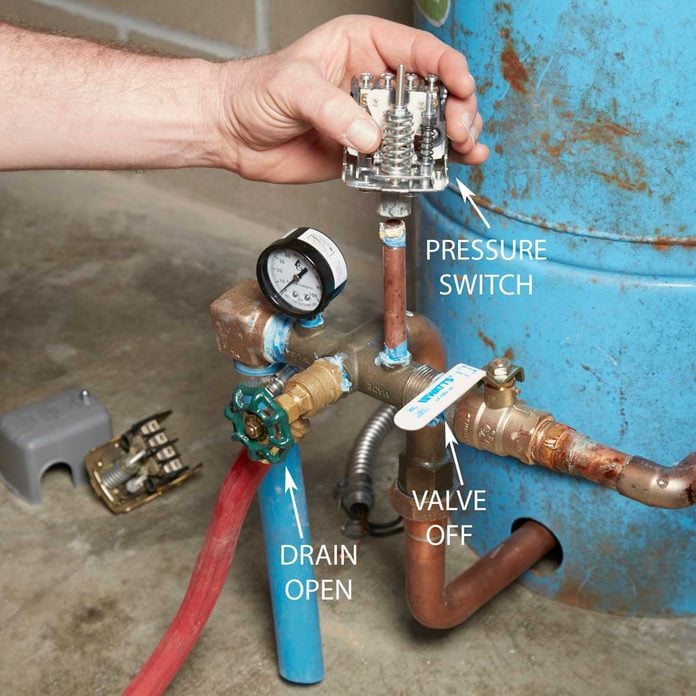
- Check tank air charge
- Turn pump off, drain pressure to below cut-in, then use a tire gauge on the tank’s air valve. Compare to recommended precharge (usually 2 psi below cut-in). A waterlogged tank mimics switch problems.
- Bypass test (temporary)
- Only if experienced: temporarily bypass the switch to see if the pump runs. If the pump runs and builds pressure, the switch is at fault. Never leave a bypass in place.
- Adjust switch settings if needed
- If cut-in/cut-out drifted, adjust the spring nuts following manufacturer guidance, then re-test.
Every step narrows the cause in your Pressure Switch For Well Pump Troubleshooting process.

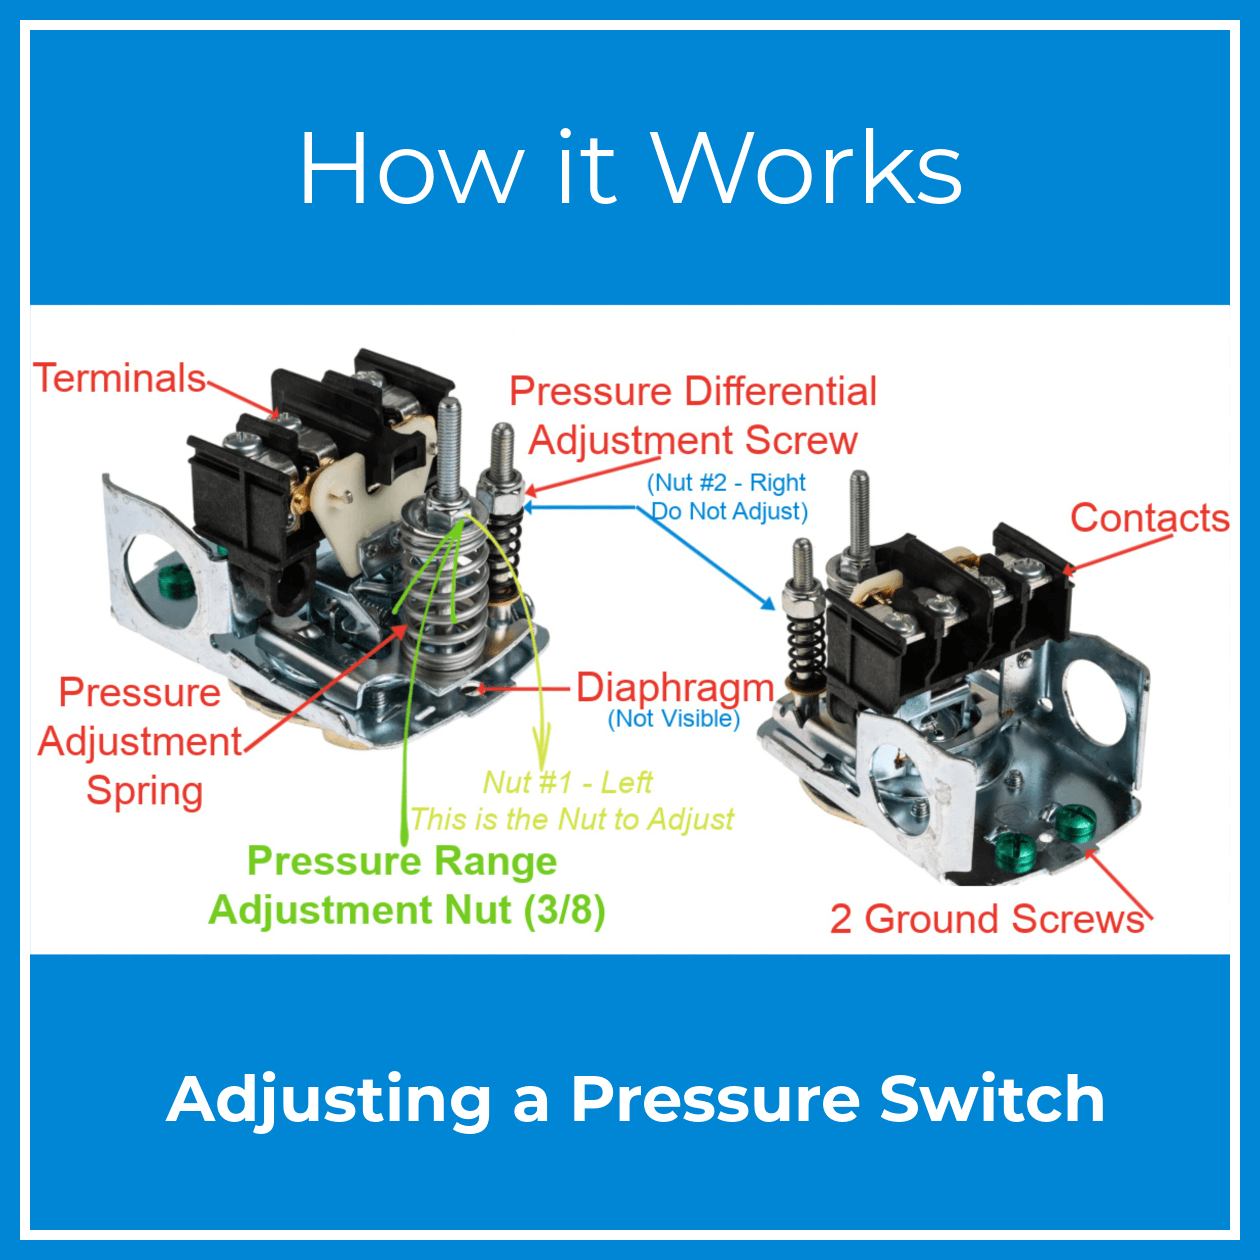
How to adjust and calibrate the pressure switch safely
Adjustments are small and precise. Record original settings before changes.
Quick adjustment steps
- Turn off the pump power.
- Remove the switch cover.
- Loosen the lock nut and turn the large nut to change both cut-in and cut-out equally.
- Use the small nut for finer cut-in adjustments if your model allows.
- Restore the cover, turn power on, and observe at least two cycles.
Safety tips
- Make only small turns. A small change can cause large pressure swings.
- Replace the cover before restoring full power to avoid sparks near dust or moisture.

Replacing a pressure switch: when and how
Some failures mean replacement is the best option. Signs include burnt contacts, water inside the switch, or broken internal parts.
When to replace
- Burned or pitted contacts.
- Corrosion inside the switch.
- Broken actuator or internal spring.
- Repeated failures after cleaning.
Basic replacement steps
- Turn off power and lock it out.
- Label and disconnect wires from the old switch.
- Remove the switch using a wrench on the tailpiece.
- Install new switch, following the same pressure setting or adjust as needed.
- Reconnect wires and restore power, then test cycles.
A proper replacement often solves persistent Pressure Switch For Well Pump Troubleshooting issues quickly.
Preventive maintenance to avoid future failures
Small checks prevent big problems and keep the system healthy.
Monthly and yearly tasks
- Monthly: glance at pressure gauge during use to notice odd cycling.
- Yearly: check tank air charge, clean switch cover area, and inspect wiring for wear.
- Every 3–5 years: replace switch if environmental wear exists, even before failure.
Practical tips
- Keep the pressure switch covered from weather and spray.
- Fit a small inline sediment trap if water is dirty.
- Tighten electrical connections during annual checks.
When to call a professional
Some scenarios need a pro. Electricity, deep well pumps, and complex wiring can be dangerous.
Call a pro if:
- You find no incoming power at the switch and can’t safely trace it.
- The pump runs but never builds pressure after simple tests.
- You’re uncomfortable working around live wiring.
- The system uses a submersible deep well pump or pressure tank repairs are needed.
Experienced technicians can test the motor, pump performance, and full electrical system quickly. This saves time and prevents costly mistakes.
People also ask (PAA-style questions)
How do I tell if the pressure switch is bad?
If the pump won’t start but power is present, or if contacts look burned, the switch often fails. A continuity test while manually operating the switch also confirms it.
Can I clean pressure switch contacts instead of replacing them?
Yes, lightly cleaning mildly pitted contacts can restore function temporarily. Replace the switch if corrosion or burning is severe.
What pressure settings should my switch have?
Common residential settings are 30/50 psi or 40/60 psi. Match your tank and household needs and ensure the tank precharge is 2 psi below the cut-in.
Frequently Asked Questions of Pressure Switch For Well Pump Troubleshooting
What causes a pressure switch to short cycle?
Short cycling is usually caused by a waterlogged pressure tank or a faulty switch that rapidly opens and closes. Check the tank air charge and switch contacts first.
How do I test the pressure switch safely?
Turn off power, check for continuity across terminals with a multimeter, and manually operate the lever if present. Always confirm power is off before touching wiring.
Can a bad pressure tank mimic switch problems?
Yes. A tank with no air cushion will cause the pump to cycle rapidly and make the switch appear faulty. Test tank air pressure to confirm.
Is it safe to bypass the pressure switch to diagnose?
A temporary bypass can confirm pump operation but is dangerous if left in place. Use it only briefly and with professional experience.
How often should I replace my pressure switch?
Expect 5–10 years depending on environment and load. Replace sooner if you see corrosion, moisture intrusion, or erratic operation.
Conclusion
Pressure Switch For Well Pump Troubleshooting becomes straightforward when you follow a clear, safe process: observe symptoms, check power, inspect the switch, test continuity, verify tank air, and replace or adjust only when necessary. Apply the simple tests here to narrow issues fast. If you’re unsure at any point, call a licensed technician to avoid safety risks. Try these steps, leave a comment with your experience, or subscribe for more well-system tips and practical fixes.

